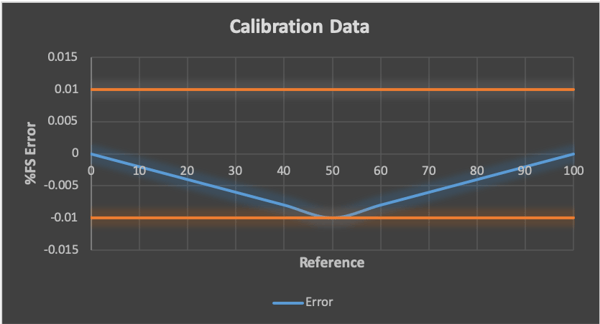
The number of ways in which a device can be calibrated and figuring out which device to use for every situation to achieve the best results can be daunting. Experts use their experience, the type of calibration equipment available, the inaccuracy of the device under test and the amount of time required to make a determination.
 As Found Data
Typically, one of three options are chosen to perform a pressure calibration:
- Zero or span adjustment (1 point),
- zero and span adjustment (2 point), and
- a multipoint adjustment (3-11 points).
As a basic rule of thumb, the more calibration points the better the final result. However, this isn’t always necessary and it can cause significant increases in time and resources with little benefit.
One-Point Calibration
The fastest and easiest way to calibrate a transducer is using a zero-point adjustment. This procedure is typically done in the lower 20% of the transducer range and uses a single point to calculate the difference between the reference value and the DUT reading to create an offset correction. For a gauge transducer this is as simple as venting the device to atmosphere on both pressure and reference ports, while zeroing an absolute transducer may require the instrument to be pumped down in the vacuum range, depending on the full span pressure. This type of calibration is ideal for transducers that have a constant offset because the adjustment is applied to all the points across the range of the transducer or DUT. For example, if there is a 0.005 psi error at the zero point, then the 0.005 psi adjustment will be active throughout the entire range.
Two-Point Calibration
Another commonly used procedure is a zero and span adjustment, often referred to as a 2-point calibration. This adjustment uses the same process as mentioned above for the zero point, but it requires pressurizing the instrument to the top 20% of the range in order to get the span, or second point, reading. The span adjustment is used to create a multiplier that is factored in at every point within the measured pressure. This type of calibration is done on transducers that have a zero error as well as a linear drift throughout the transducer range.
Multipoint Calibration
While it is common for transducers to have a zero shift or span drift, occasionally a transducer will have inconsistent linearity throughout the range. Sometimes a transducer can have no offset detected at the zero or span point, but still have errors at various points throughout the range. For devices with this type of behavior, a multipoint adjustment can be done. This type of calibration is typically referred to as performing a “linearization” of the device.
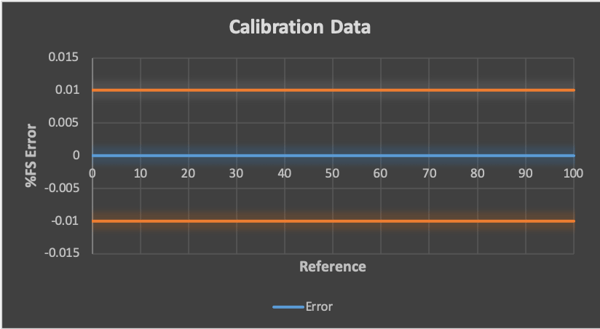
To perform this type of adjustment, the calibrator can use anywhere from 3 to 11 reference points. Each set of points can be thought of as individual 2-point calibrations. For example, using the 3-point linearization, there will be a zero and span adjustment from point 1 to point 2, and a separate zero and span from point 2 to point 3. Using the maximum of 11 reference points, the instrument can have different adjustments for each 10% segment throughout the entire range. While the multi-point calibration always ensures the best results, it also requires the most time and effort to perform.
 As Left Data - After Multipoint Linearization
It is impossible to know the type of calibration required until an “as-found” calibration is performed on an instrument, which will often include a zero-point adjustment as part of the process. Once this is done, a knowledgeable calibration technician will understand which type of procedure needs to be performed in order to get the instrument back in service.
The importance of understanding the differences between the calibration types and when to use each of them can play a vital role in the efficiency of a calibration lab.


